SUBJECTS
GRADE
Show Results
Over, Under, and Around the Monster...Math and More!

Lesson Summary
- Create unique, artistic monsters.
- Recognize and create organic and geometric shapes.
- Use monsters to review common prepositions, addition and subtraction.
Lesson Plan and Procedure
Lesson Key Facts
- Grade(s): K
- Subject(s): English Language Arts, Math, Visual Arts
- Duration of lesson: One or two sessions, 45 minutes each
- Author(s): Christine Palmer
 Download
Preparation
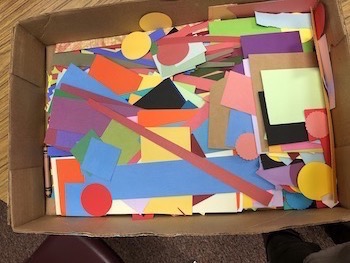
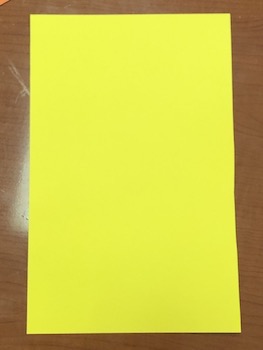
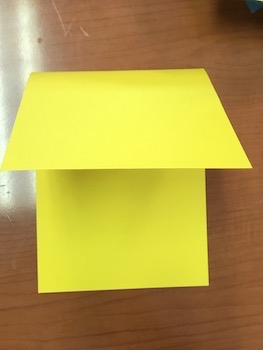
Prepare the paper by cutting cardstock or construction paper in half and then pre-folding for kindergarteners. The paper shown below is half of a regular-sized piece of paper (5.5” x 8.5”). Have a lot of other smaller pieces of colored paper available for students to cut into eyes, arms, mouths, and so forth. It is helpful to have four or five boxes of colored paper so each table can have its own supplies.
Making the Monster
Read aloud to students the book Go Away Big Green Monster by Ed Emberley. Talk about some of the shapes seen on the monster. 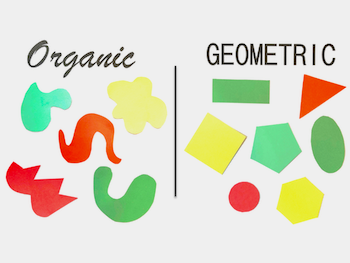
Teacher: Let’s talk about two different kinds of shapes: geometric shapes and organic shapes. Geometric shapes often have perfect, uniform lines and measurements like circles, squares, and triangles do. There are also organic shapes. Organic shapes are usually curvy, irregular shapes that are often found in nature.
Show examples of shapes for the students to see. Give students the opportunity to identify the geometric and organic shapes they see in the book illustrations.
Teacher: Many shapes can make up a monster! Since monsters are imaginary, they can even have lots of eyes and a squiggly body if you want. Today you will be making your own monster by cutting and gluing shapes.
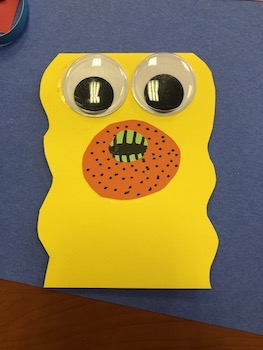
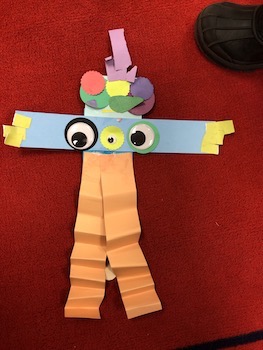
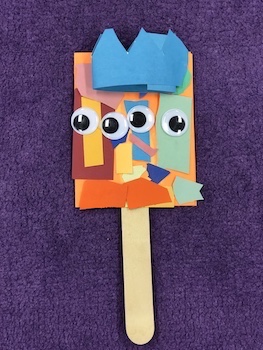
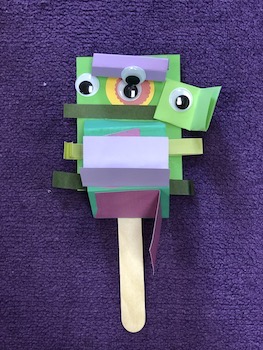
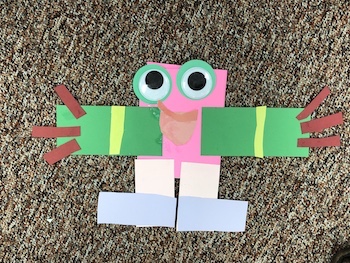
Have students start by cutting around the sides of the folded cardstock/construction paper so that it is not just a rectangle. This will be the overall shape of the monster’s body. Next, students will choose smaller shapes from the box or cut their own shapes to create a head, arms, legs, or other body parts. They will glue these to the main body. Encourage students to use their imaginations to make a creative, unique monster with lots of shapes. Demonstrate and talk to the students about choosing colors that stand out from each other.
Teacher: If you glue a blue shape on top of blue paper, you won’t be able to see the shape very well. Make sure you choose a variety of colors when making your monster.
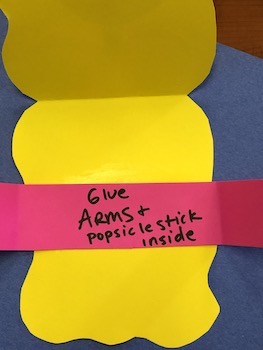
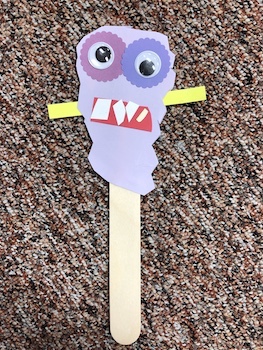
Crayons and markers can also be used if you desire. Encourage students to talk about their monsters with their peers and share what they are making. They can talk about how many eyes they are going to make or why they decided to draw the teeth the way they did. After a student is finished, have an adult hot-glue the arms and popsicle stick inside.
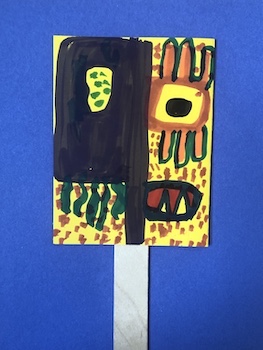
Examples

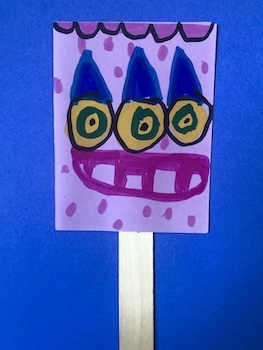
Adaptation
If short on time, consider having students create monster features with markers instead of cutting out shapes. Students can draw shapes and add monster details with markers on a rectangular piece of paper. See examples below.
English Language Arts Content: Monsters All Around!
Choose to use one of the following games that use common prepositions and compare similarities and differences.
- Students can practice common prepositions using prompts. Example: “Put your monster on top of your head / on the floor / beside another monster / under your chair.”
- Students can use an object such as a cotton ball or goldfish cracker to play a few preposition prompt games. Example: “Put the cotton ball above your monster / below your monster.”
- Students can compare things that are the same or different. Example: Choose students with the same monster features (without telling them what is the same). Have students come up to the front of the class and see if the other students can recognize what is the same in the group of monsters (for example, they all have one eye or crinkly hair).
Math Content: It’s the Monster Math!
The students’ monster art may be used as manipulatives for the following math activities:
- Students can add and subtract monsters as a class.
- Students can create monster math word problems.
- Students can generate addition problems with sums of 10 monsters.
Learning Objectives
- Use the most frequently occurring prepositions.
- Understand addition as putting together and adding to, and understand subtraction as taking apart and taking from.
- Represent addition and subtraction using objects.
- Generate artistic work.
- Share and talk about the artwork and the process of making art while creating.
Utah State Board of Education Standards
This lesson can be used to meet standards in many grades and subject areas. We will highlight one grade’s standards to give an example of application.
Grade K English Language Arts
Standard K.SL.3: Use age-appropriate language, grammar, volume, and pronunciation when speaking or presenting
Grade K Math
Strand: OPERATIONS AND ALGEBRAIC THINKING
Understand addition as putting together and adding to, and understand subtraction as taking apart and taking from (Standards K.OA.1-5).
Standard K.OA.1: Represent addition and subtraction with objects, fingers, mental images, simple drawings, or sounds. For example, use clapping, act out situations, and use verbal explanations, expressions, or equations.
Grade K Visual Art
Strand: CREATE (K.V.CR)
Students will generate artistic work by conceptualizing, organizing, and completing their artistic ideas. They will refine original work through persistence, reflection, and evaluation (Standards K.V.CR.1-3).
Standard K.V.CR.3: Share and talk about the artwork and the process of making art while creating.
Equipment and Materials Needed
- Emberly, Ed. Go Away Big Green Monster! California: Lakeshore, 1999. or other monster books that integrate other concepts (shapes, counting, vocabulary and so forth), such as Five Ugly Monsters by Tedd Arnold
- Colored cardstock or construction paper cut in half sheets (5.5” x 8.5”)
- Miscellaneous paper shapes and sizes
- Markers (optional)
- Liquid glue or glue sticks
- Googly eyes (optional)
- Popsicle sticks
- Hot glue for popsicle sticks
- Scissors
Additional Resources
ignore
Image References
Images 1: Ed Emberley
Image 2-4: Christine Palmer
Image 5: Rachel Gonthier
Images 6-15: Christine Palmer
www.education.byu.edu/arts/lessons