SUBJECTS
GRADE
Show Results
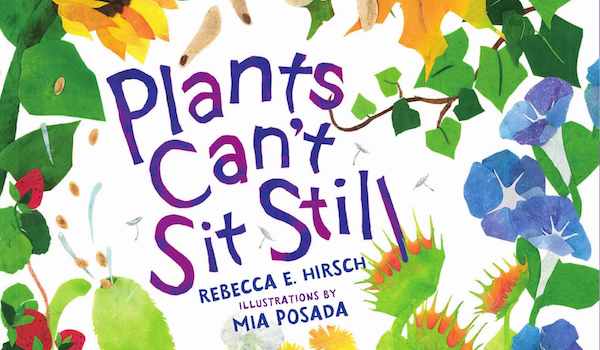
Plants Can’t Sit Still
Lesson Summary
- Explore ways plants use movement to survive and grow.
- Understand the life-cycle of plants.
- Create and perform a plant life-cycle dance.
Lesson Plan and Procedure
Lesson Key Facts
- Grade(s): K, 1, 2, 3
- Subject(s): Dance, Science
- Duration of lesson: 30-60 minutes
- Author(s): Miriam Bowen
 Download
Note: You may want to split the activities up over a couple of days, depending on the time you have available.
Activity 1: Warming Up
Have students spread out around the room, finding their own personal space with enough room to move without touching anyone or anything.
Axial Movement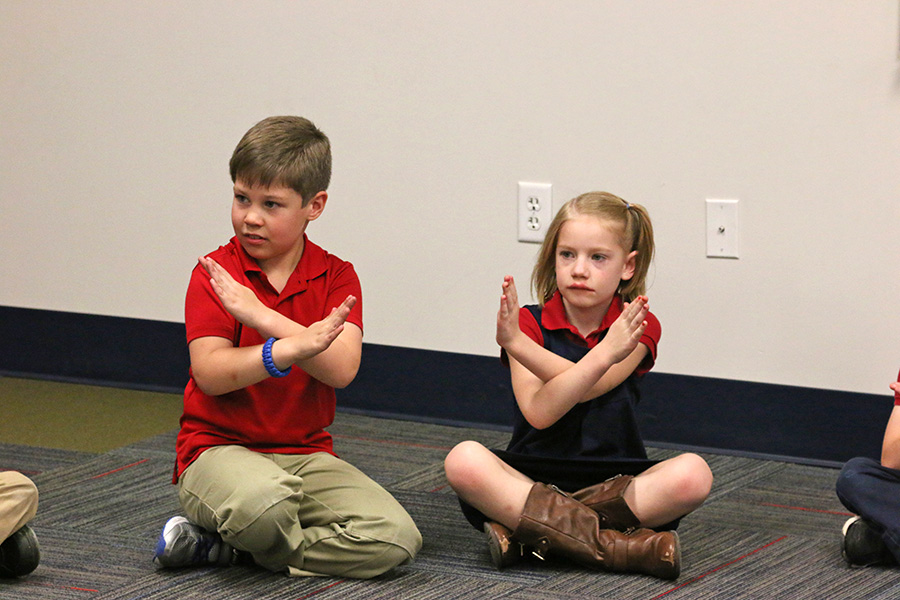
Have the students imagine a big X on the floor underneath their feet. Say the word axial, asking the students to listen for the sound in the word. Then have them say the word axial with you; as they do, direct them to make an X with their fingers. Repeat the word and have them make an X with their hands, arms, legs, and (finally) whole body.
Teacher: Axial movement in dance is movement that stays in one place, like we are standing on our X. “X marks the spot.”
Have the students stay on their Xs while they explore the following movements you call out: wiggling, stretching, lifting, reaching, folding, unfolding, climbing, creeping, swaying, and skipping.
Locomotor Movement
Teacher: Locomotor movement in dance is movement that involves traveling from one place to another.
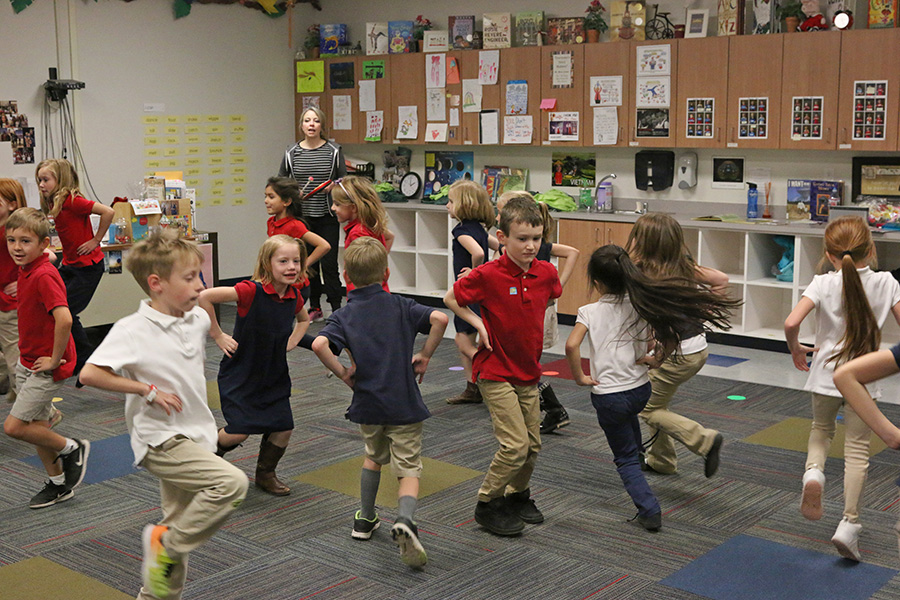
Encourage students to keep a space bubble around them so they do not bump into anyone or anything as they move. Have them try the following movements you call out while they travel through the room: bouncing, exploding, flinging, whirling, floating, gliding, skipping, and galloping.
Formative Assessment: Room Scan
Check for student understanding of axial and locomotor movements. Have the students skip while you call out either “Axial!” or “Locomotor!” Students should move through the room when you say locomotor or stop on the spot while continuing to skip when you say axial. This can also be practiced with gallops and the words listed above.
Activity 2: Exploring Levels and Size
Exploring Levels
Level refers to how close or how far from the floor a dancer is moving. Levels can be identified as high, medium, and low.
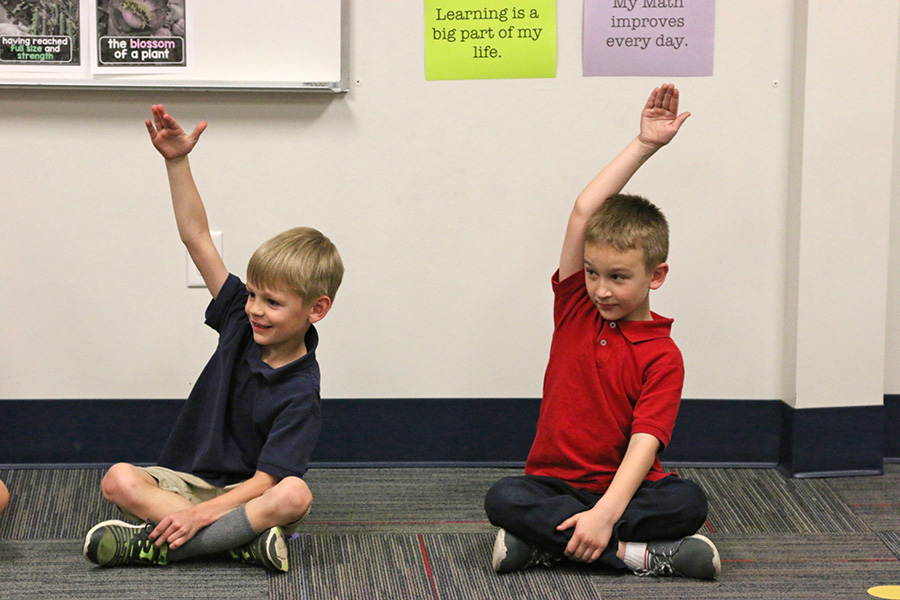 Ask the students to sit and use their hands as an indicator of the level you are asking for:
- High—students lift a hand high in the air.
- Medium—students bring a hand to the mid-chest area.
- Low—students lower a hand close to the floor (but don’t touch it).
Call out a level and have the students show you that level with their hand. Increase the difficulty by mixing up the order and increasing your speed.
Teacher: Now that you have shown me that you understand levels with your hands, can you use your whole body to make a shape on the level I call out?
Continue as before, only the students will change levels with a whole-body shape. You may change the order and speed to make the activity challenging and fun for students. Encourage them to shape their bodies in interesting ways, rather than just standing or sitting. Highlight interesting and unique shapes.
Exploring Size
Size refers to how near or far you move from the center of your body. In this activity, size can be measured as small, medium, and large.
 Teacher: Can you make a small shape, where your arms and legs are near the center of your body? Now create a new small shape. Now make a large shape, where your arms and legs are reaching far from the center of your body. Now create a new large shape. Make a shape in the middle of small and large—a medium shape. Then create another medium shape.
Have the students make shapes of all sizes and at all levels.
Teacher: Let’s try moving throughout the room with big size movement. For example, let’s make large steps or hold out big, floating arms.
Continue by having the students explore movement that is medium and small in size.
 Formative Assessment: Room Scan
Teacher: As we continue to think about size, let’s add in levels. Get down to a low level, but find a way to use big movement. Move on a high level with medium-size movement. At the middle level, move in small ways. Have students practice combinations of levels and sizes to help with assessing their understanding.
Activity 3: Reading Plants Can’t Sit Still
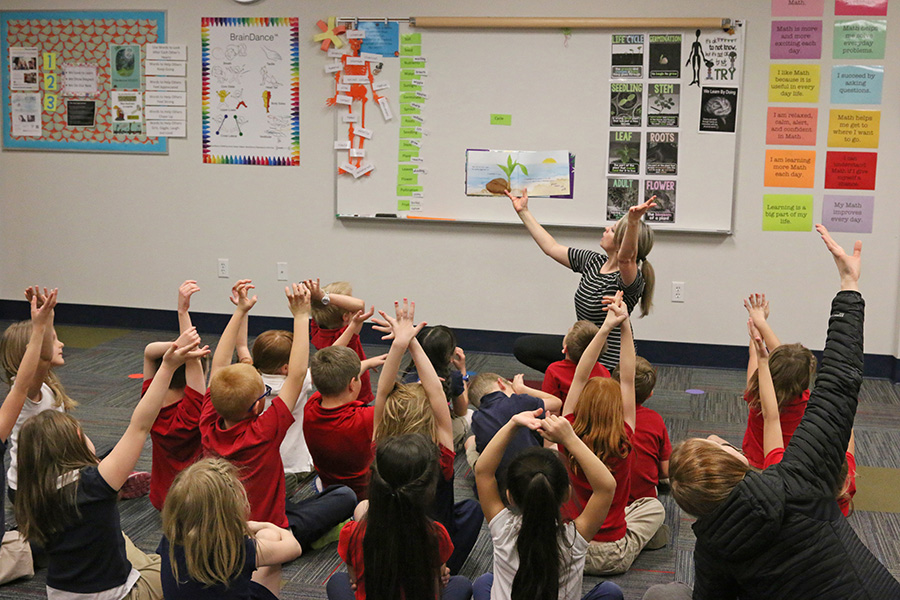
Gather your students and read the book Plants Can’t Sit Still.
Movement Exploration
While reading the book, take time to explore any of the 36 movement words. The book uses different colors of ink to highlight the action words on each page. Invite the students to try moving according to each highlighted word.
 Rich movement possibilities can come from exploring this list of verbs. Every page inspires movement, level changes, and size changes. All action words are compiled in a word document below. You may have the students explore all of the words or just a few of them, depending on your time constraints. Help the students recognize that in the first part of the book the plants are moving in axial space and that in the second part of the book the seeds travel in locomotor ways.
For example, the book begins, “Plants don't have feet or fins or wings, yet they can move in many ways. Look closely and you'll discover that plants can’t sit still. Plants can wiggle.” Ask students to wiggle their hands, arms, feet, legs, or whole bodies.
Activity 4: Create a Plant Life-Cycle Dance
Teacher: A cycle is a series of events that repeat in the same order.
Write the word cycle in the middle of your whiteboard and draw a big circle around the word.
Teacher: Every living thing has a life cycle. Plants begin as seeds placed in soil.
Place the words soil and seed at the top of your circle.
Go through the life cycle of a plant while placing the words in the order of events. Have the students help you choose some of the movement words from earlier which can demonstrate what is taking place in the cycle, and put the words next to the plant vocabulary words, circling in a clockwise direction. Put a movement sequence together, creating a plant life-cycle dance, and have the students move through each part of the cycle.
Example: Waiting, breath, and squirm are words that can pair with nutrients, water, and sunlight.
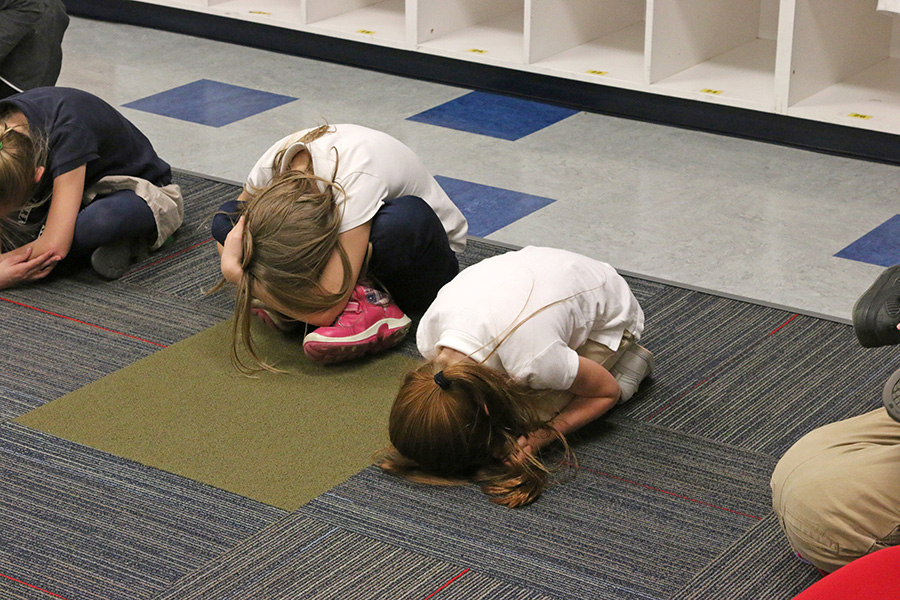
Teacher: Seeds are good at waiting. While under the soil, they are busy and actively bringing in the things they need to grow.
Point out that as the students curl in a ball shape and breathe deeply, it shows movement that can represent the work the seeds are doing underground. This is done low in level and small in size. They can squirm with small movements and grow to a full wiggle as they gain energy from the nutrients.
 Example: The word wiggle can pair with the word germinate.
Teacher: Germination is the process of the seed beginning to grow.
Have the students wiggle to show this process.
Example: The word sharp can go with the word sprout.
Teacher: Now that the seed has the right amount of nutrients to sprout, it must use its energy to push through the dirt to grow both upward and downward. Make small, sharp movements to represent the seed sprouting into a seedling.
Teacher: Continue sprouting to a medium level—no higher than your knees.
This represents a young, small plant called a seedling. Encourage the students to think of shapes their arms can make to represent a few leaves.
 Example: Grow and reaching can pair with stem and plant.
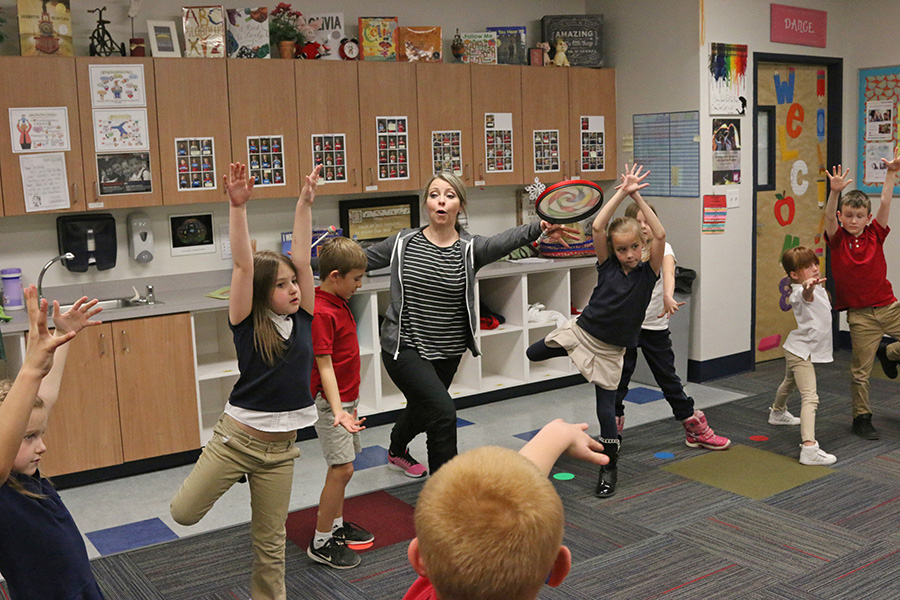
Teacher: Now begin to grow into the kind of plant you would like to be. You must have a stem, which can be represented by the core of your body. You will be rising to a high level and becoming large in size.
Example: Unfolding can go with leaves and flower.
Encourage students to use their arms and legs as they grow to represent the roots, leaves, and flowers of their plant. They will end in their own unique plant shape.
Example: Gliding goes with pollination.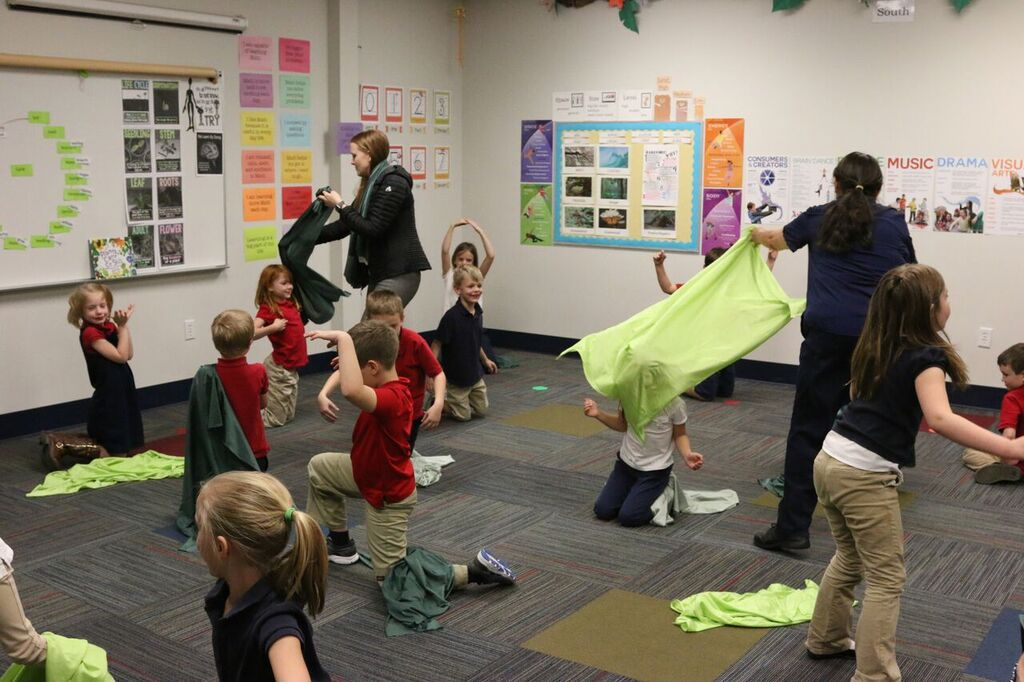
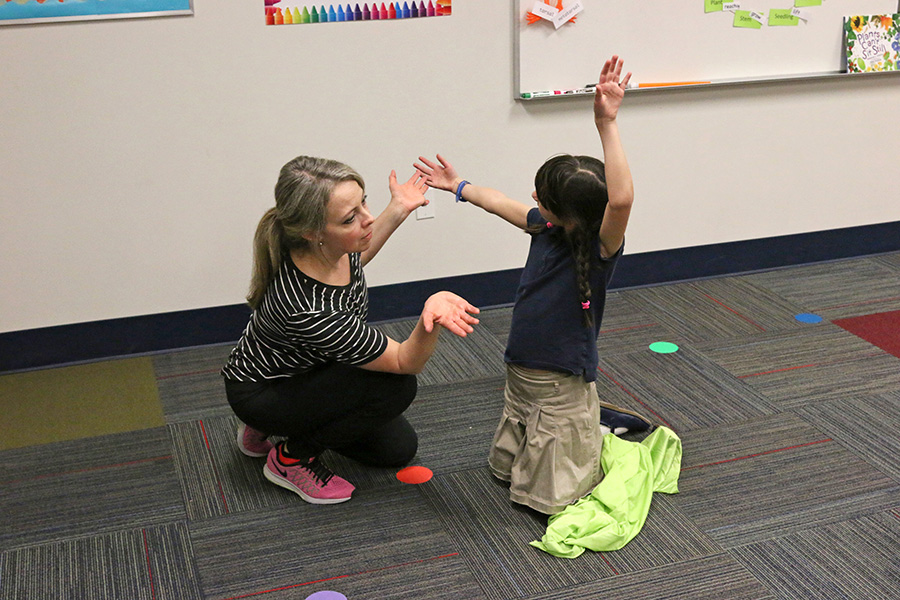
You as the teacher may represent the insects’ and birds’ role of pollination. Glide among your students with a scarf, allowing it to gently touch the flower part of each of their still plant shapes. This represents moving the pollen from one flower to another. This also could be done with a gentle touch on the shoulders, arms, or hands of students, if you prefer.
Example: Bounce and explode pair with fruit.
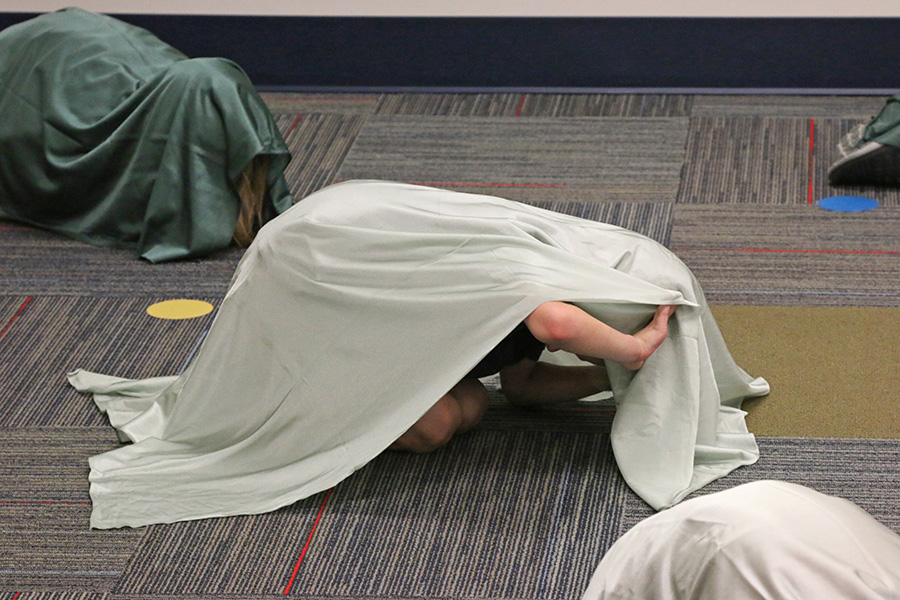
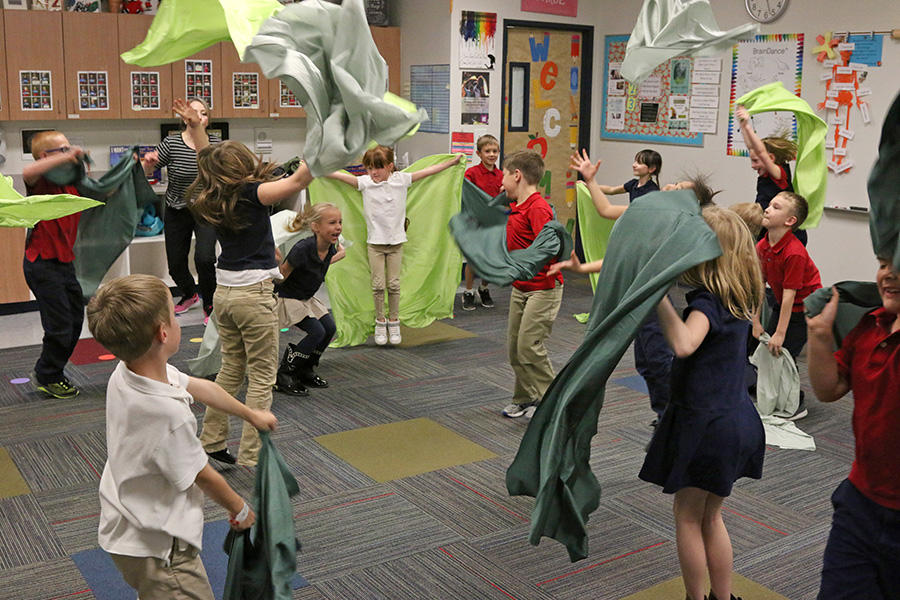
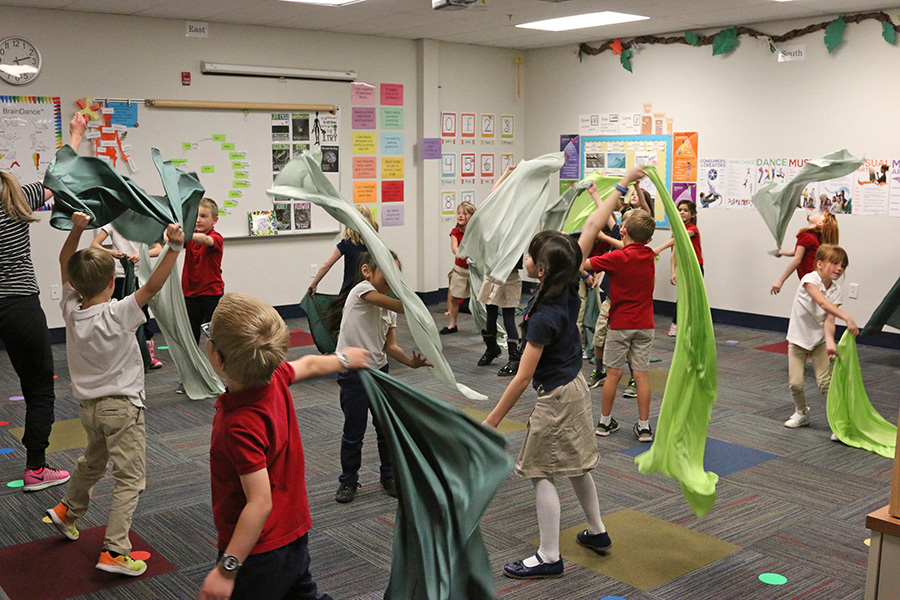
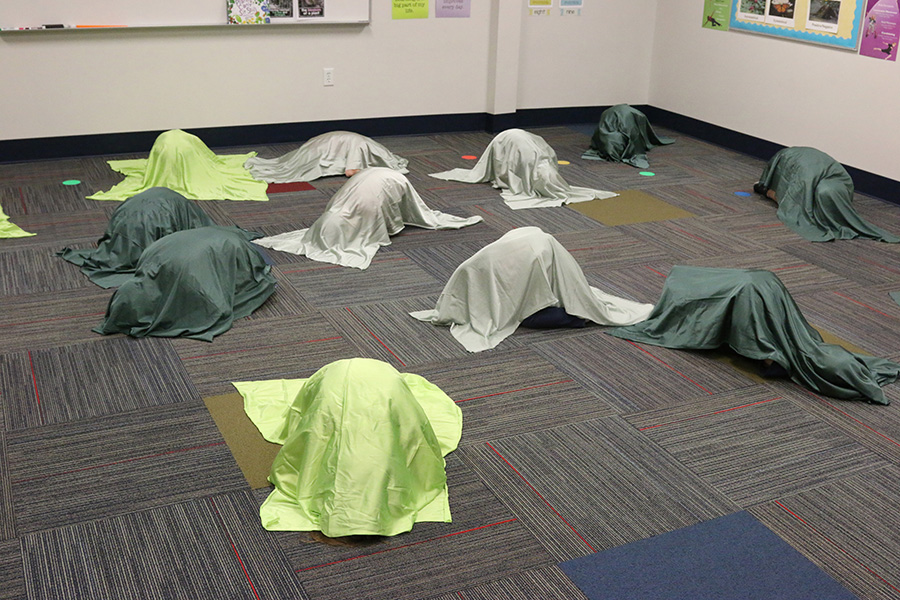
Instruct students that once your cloth or hand touches their shape, they will change into a new shape representing fruit that holds seeds inside. Up to this point, they have been in their axial space, but once touched and changed into fruit, they will use locomotor movement to travel to another spot. This represents the fruit falling to the ground, where the seeds inside will bounce and travel to a new spot in the soil where the cycle will begin again. (They will need to curl up on the ground and cover themselves with the cloth representing soil to start the cycle over again.) The dance can repeat or you can just explain that the cycle begins again.
Perform
After students have created the plant life-cycle dance, you can divide the class in half and let each student take a turn performing and being part of the audience. This is the perfect setting to teach and establish performance etiquette, which includes the following:
- Focusing on the performers, noticing what they do
- Crossing legs and holding still while watching
- Not talking during the performance
- Clapping at the conclusion to show appreciation and respect for the performers
Allow time at the end of each performance for reflection and commentary from the audience. Keep the discussion positive by guiding students’ thoughts in the directions suggested below.
Discussion suggestions:
- Guide students to review and identify the levels and sizes that were used in the growth process.
- Discuss creativity and how each plant had a unique way of growing, which makes things more interesting.
- Ask about favorite parts of the dance.
- Ask what they noticed.
- Ask if they preferred watching or performing.
Options:
- A small hand drum may be used to accompany movement.
- Music may be added for the performance.
- A piece of cloth may be used to cover each child and then used as a prop in the growth and traveling parts of the dance—you may place it over them, representing the farmer covering his seeds with soil. When the children travel to new locations at the end of the dance, have them work to cover themselves to represent the work that seeds do on their own.
Learning Objectives
- Demonstrate knowledge of the following: axial and locomotor movement; high, middle, and low levels; and big, medium, and small sizes.
- Explore different qualities of movement that relate to plants and their growth cycle.
- Perform a dance displaying the life-cycle of a plant.
- Investigate, describe, and identify major parts of plants (roots, stem, leaf, flower, trunk, branches, and so on).
- Describe some changes in plants that are hard to see.
- Understand that living things change and depend upon their environment to satisfy their basic needs.
- Describe and model the life-cycle of a plant.
- Identify basic needs of a living plant and its abilities to meet its needs.
- Understand the central message of a book.
- Identify words that can be demonstrated through movement.
Utah State Board of Education Standards
This lesson can be used to meet standards in many grades and subject areas. We will highlight one grade’s standards to give an example of application.
Grade 1 Dance
- Standard 1.D.CR.4: Respond to suggestions and change movement through guided improvisational experiences or short remembered sequences.
- Standard 1.D.P.1: Demonstrate moving safely through the space using a range of activities and in and out of spatial arrangements while maintaining personal space.
- Standard 1. D.CO.2: Describe and demonstrate movements organized around a specific topic.
Grade 1 Science with Engineering Education (SEEd)
- Standard 1.2.1: Plan and carry out an investigation to determine the effect of sunlight and water on plant growth. Emphasize investigations that test one variable at a time.
Grade 1 English Language Arts
- Reading, Literature Standard 2: Retell stories, including key details, and demonstrate understanding of their central message or lesson.
- Reading, Literature Standard 4: Identify words and phrases in stories or poems that suggest feelings or appeal to the senses.
Equipment and Materials Needed
- Hirsch, Rebecca E., and Mia Posada. Plants Can’t Sit Still. Minneapolis: Millbrook Press, 2016.
- Movement words
- Plant life cycle words
- Material for a covering for each child
- Drum (optional)
- Music (optional)
Additional Resources
- “Plants Can't Sit Still Read Aloud” (https://www.youtube.com/watch?v=M8SXpILTVoo)
- “Growing a Bean Seed” (https://www.youtube.com/watch?v=PfMSKMIsU5U)
- If You Plant a Seed by Kadir Nelson (a book about kindness)
- The Tiny Seed by Eric Carle
Image References
Image 1: https://www.rebeccahirsch.com/books/plants-cant-sit-still
Images 2-14: Brenda Beyal
www.education.byu.edu/arts/lessons